|
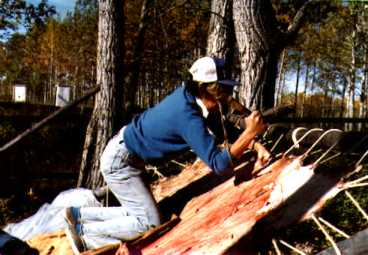
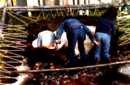
8. You start at the top of the moose. You
kneel on an old tarp to keep your knees dry.
*Notice position of fleshing tool.*
|
|
|

All photographs on this page provided by the Kelly Lake First Nation
|
|
|
|
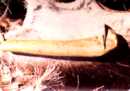
9. After using the fleshing tool, the hide is turned over. This tool is used to take the hair off the hide. It must be kept very sharp.
|
|
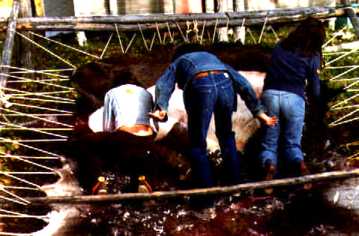
10. When cutting the hair off the hide it is
important to take the same amount off
all over the hide.
|
|
|
|

|
|
|
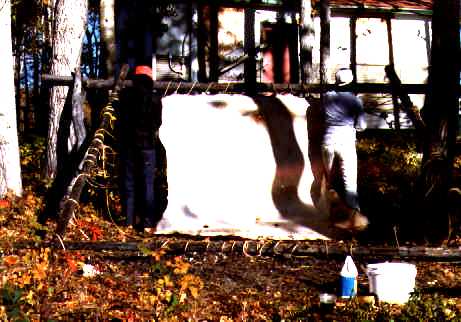
11. The scrapper is pulled down the hide to cut
off the hair.
|
|
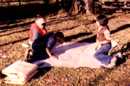
12. Now all of the hair is off the hide.
*Notice how close you cut to the
ropes. Very little hide is wasted
in the process*
|
|
|

|

|
|
|
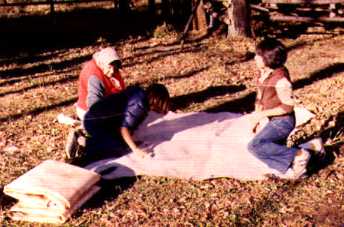
13. The hide is like bark at this point. It is
about 2 mm. thick.
|
|
14. You rub brains into the hide with a soft cloth.
Fold the hide once the brains are rubbed in.
|
|
|
|